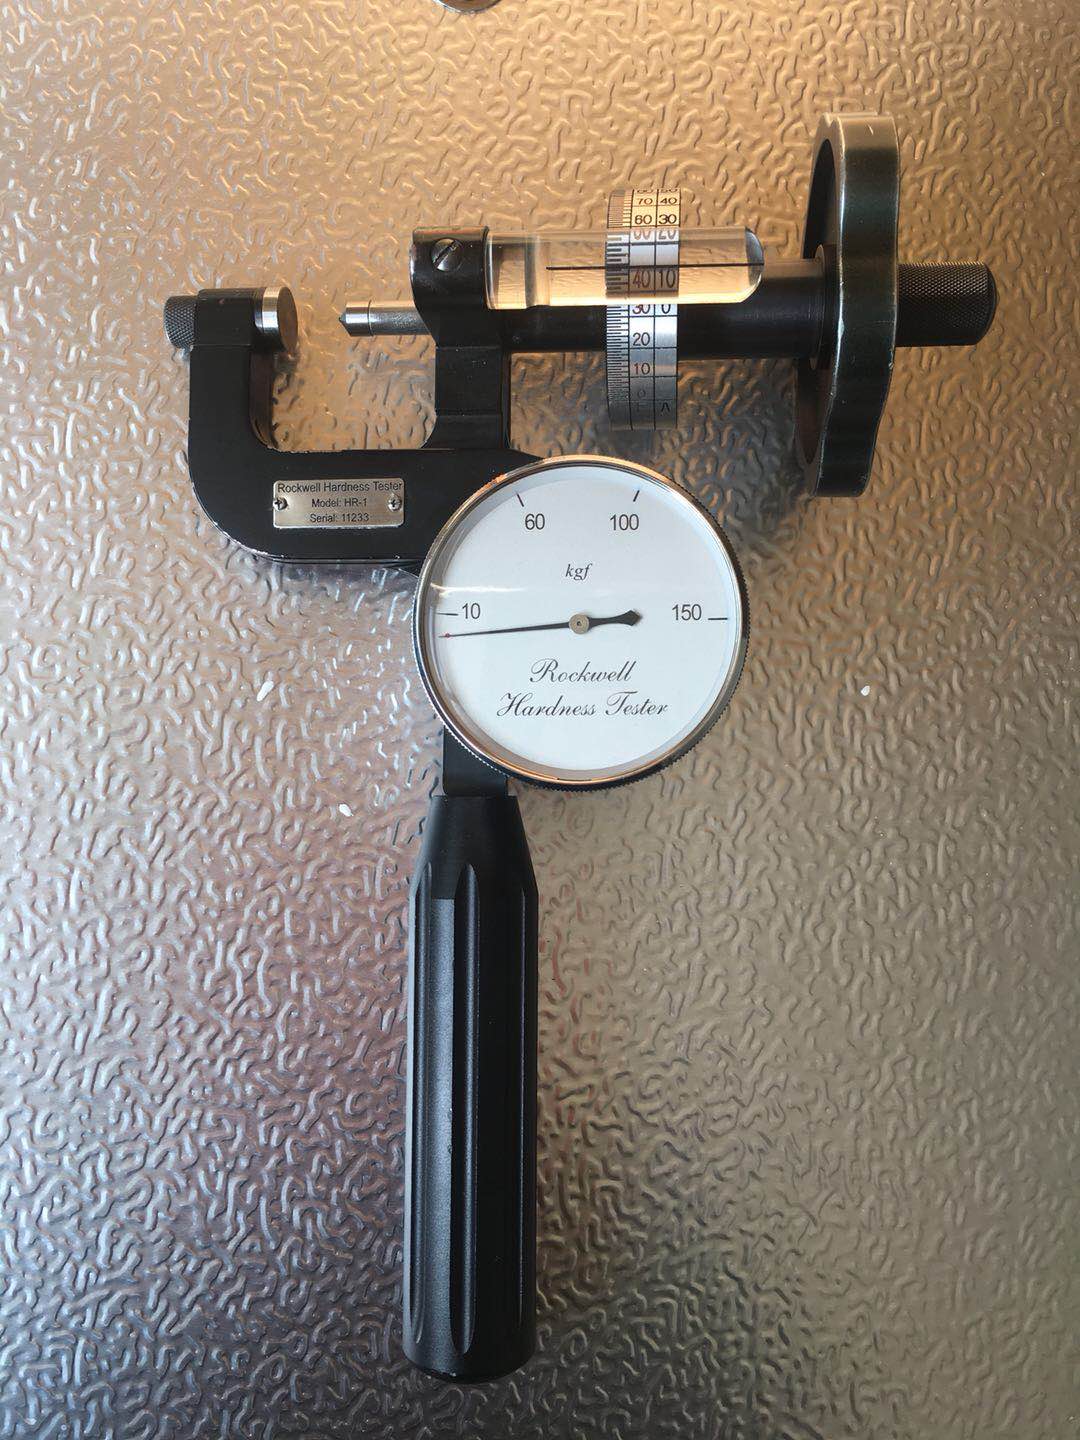
1. Roughness of sample surface
The Rockwell hardness test method is obtained by applying an initial test force first and then the main test force. If the surface roughness of the sample is too large, the zero position of the dial loaded with the initial test force is inaccurate, resulting in the impact on the preparation of the Rockwell hardness value.
2. The microstructure of the sample is uneven
If the sample is mixed with pores, impurities or hardeners, the results will not be representative if these places are encountered during measurement.

3. Time for applying and maintaining test force
The time from applying the initial test force to applying the total test force shall not be more than 8 seconds. After applying the total test force, the test force shall be maintained for 3 ~ 5 seconds, and then the main test force shall be completely removed within 2 seconds. When returning to the initial test force, the Rockwell hardness value shall be read. Too slow or too fast loading or holding of the test force will affect the preparation of the results.
4. Unreasonable support
For samples of different shapes, we need to select anvils of different shapes to provide support during measurement, so as to prevent sample sliding during measurement. The Rockwell hardness tester produced by TX company includes: flat anvil, V-shaped anvil, point anvil, diamond point anvil and slender point anvil.


