There are many hardness testing methods, so there are many units. The same hardness testing method will have different hardness units due to different forces and indenters. Usually, one hardness testing method corresponds to one or several hardness units.
1. Brinell hardness (HB)
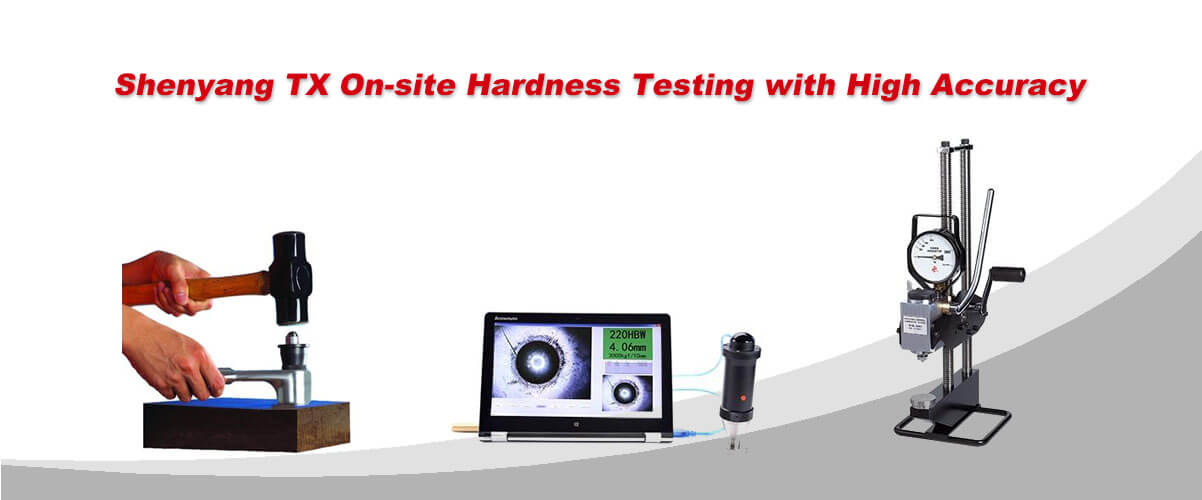
Press a hardened steel ball of a certain size (generally 10mm in diameter) into the material surface with a certain load (generally 3000kg) and keep it for a period of time. After unloading, the ratio between the load and its indentation area is the Brinell hardness value (HB).
2. Rockwell hardness (HR)
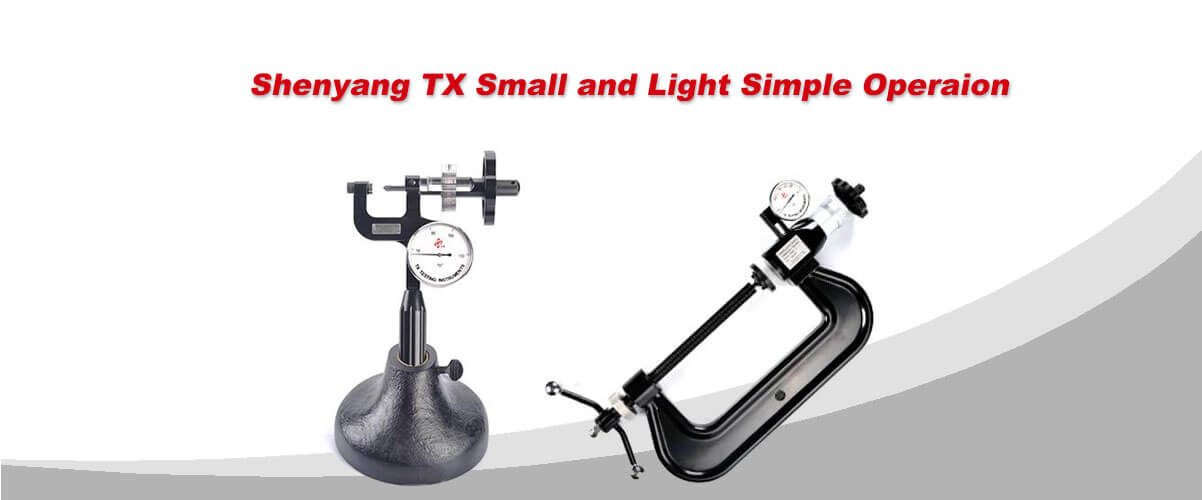
When HB > 450 or the sample is too small, the Brinell hardness test cannot be used, and the Rockwell hardness measurement shall be used instead. It uses a diamond cone with a top angle of 120 ° or a steel ball with a diameter of 1.588 and 3.18mm to press into the surface of the tested material under a certain load, and the hardness of the material is calculated from the depth of the indentation. According to the hardness of test materials, it can be expressed in three different scales:
HRA: it is the hardness obtained by using 60kg load and diamond cone press. It is used for materials with extremely high hardness (such as cemented carbide, etc.).
HRB: the hardness obtained by using 100kg load and 1.588mm diameter hardened steel ball, which is used for materials with low hardness (such as annealed steel, cast iron, etc.).
HRC: it is the hardness obtained by using 150kg load and diamond cone press. It is used for materials with high hardness (such as quenched steel, etc.).
3. Vickers hardness (HV)
Press the material surface with a load within 120kg and a diamond square cone press with a top angle of 136 °, and divide the surface product of the material indentation pit by the load value, which is the Vickers hardness HV value (kgf / mm2).
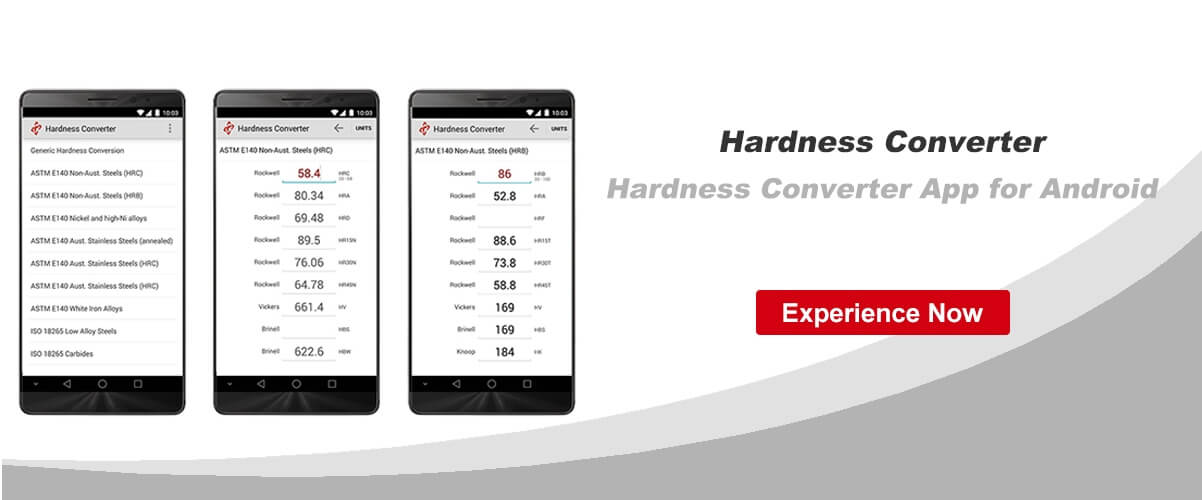
In Rockwell hardness, a, B and C in HRA, HRB and HRC are three different standards, which are called scale a, scale B and scale C.
Rockwell hardness test is one of several common indentation hardness tests used today. The initial pressure of the three scales is 98.07n (10kgf). Finally, the hardness value is calculated according to the indentation depth. Scale a uses a ball cone diamond indenter, and then pressurizes to 588.4n (60kgf); Scale B uses a steel ball with a diameter of 1.588mm (1 / 16 inch) as the indenter, and then pressurizes it to 980.7n (100kgf); Scale C uses the same ball cone diamond as scale a as the indenter, but the force after pressurization is 1471 n (150 KGF). Therefore, scale B is suitable for relatively soft materials, while scale C is suitable for hard materials.


