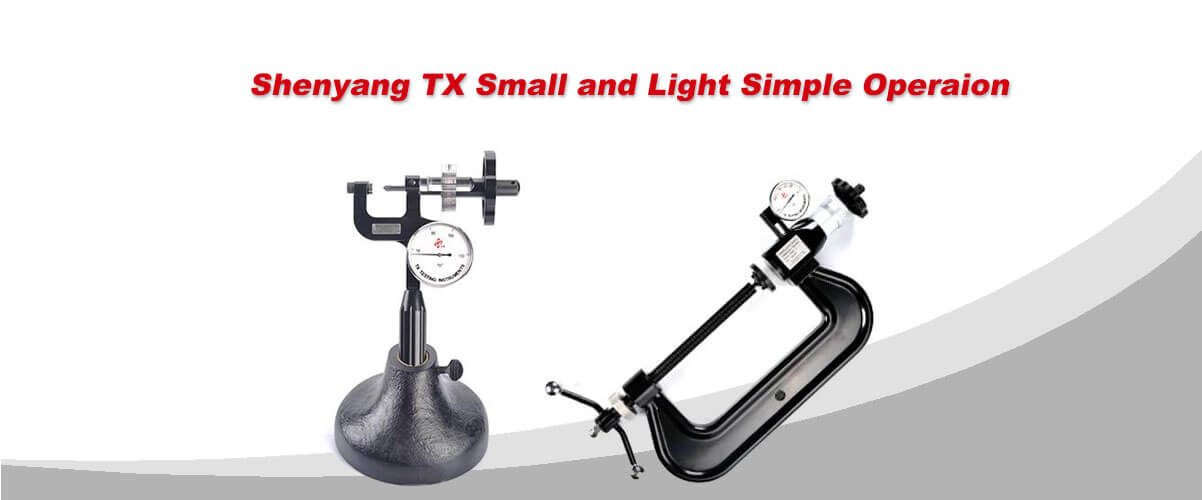
Brinell hardness tester model number PHB-3000,PHB-3000a Hydraulic Brinell hardness tester and
PHB-1,PHB-150 Pin impact Brinell hardness tester will often use Brinell reading microscope,
and the methods for using and calibrating reading microscope are as below:
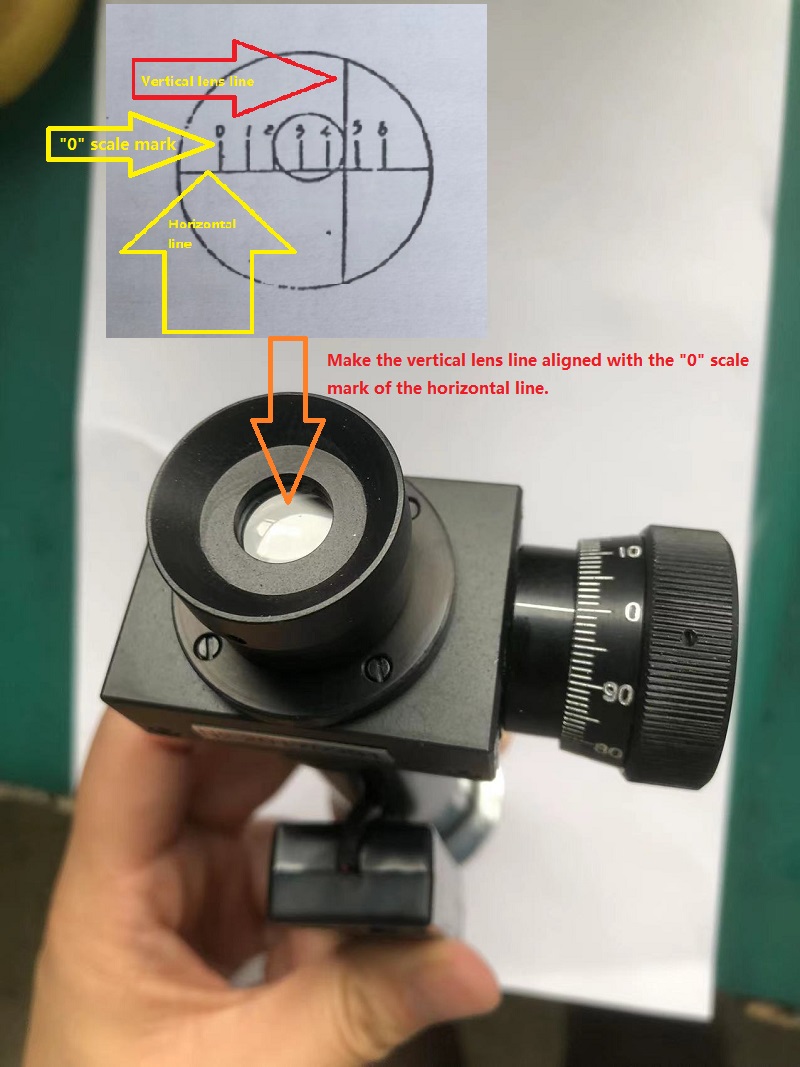
1. Look into the ocular with enough light and turn the barrel dial to make the vertical lens line
aligned with the “0” scale of the horizontal line. Meanwhile the long scale mark should rest
on “0” scale of the barrel dial.
2. Put the reading microscope on the test piece to locate the indentation in the centre of the
viewing field of the microscope. Move the microscope to make the vertical line tangential to
the left edge of the indentation. Press the bottom of the reading microscope, turn the barrel dial
to make the vertical line tangential to the right edge of the indentation.
3. Read the integral part (mm) of the indentation diameter from the horizontal scale mark,
then read the 2-digit decimal part of the indentation diameter from the barrel dial.
4. When the vertical line is aligned with the “0” scale mark of the horizontal line, but the “0”
scale mark of the barrel dial is not aligned with the long scale mark, it means the microscope
is inaccurate.
Adjustment should be made as follow:
a. Make the vertical lens line aligned with the “0” scale mark of the horizontal line.
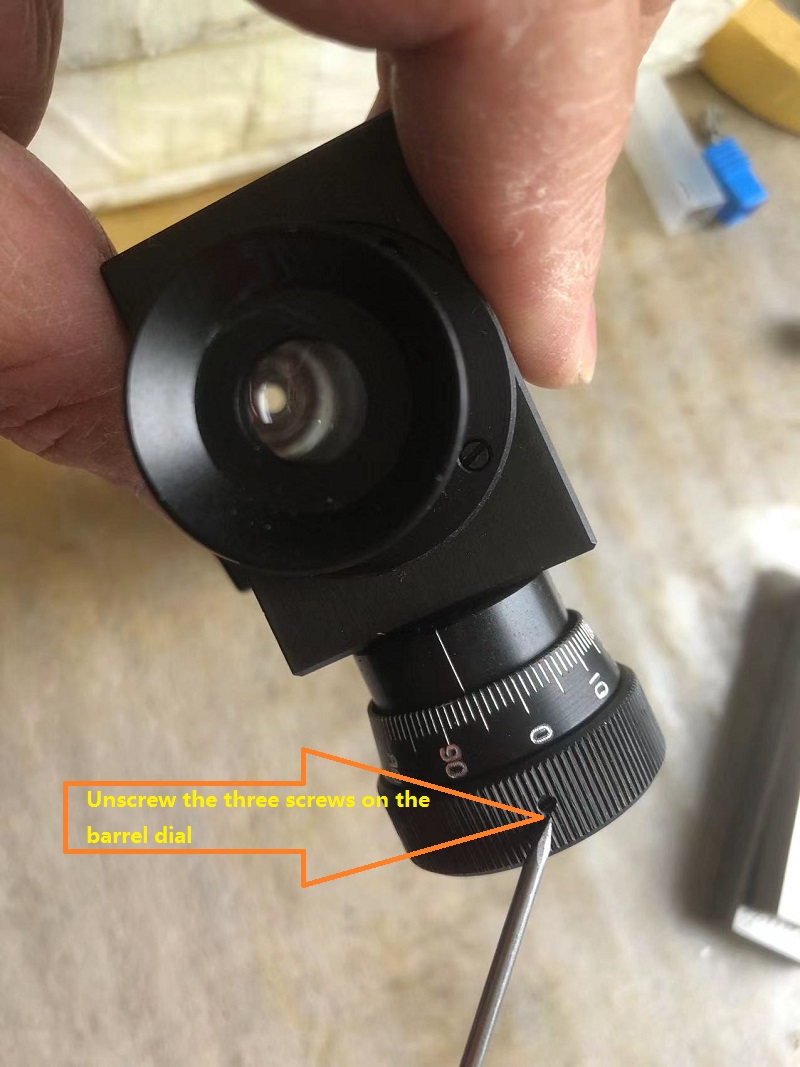
b. Unscrew the three screws on the barrel dial.
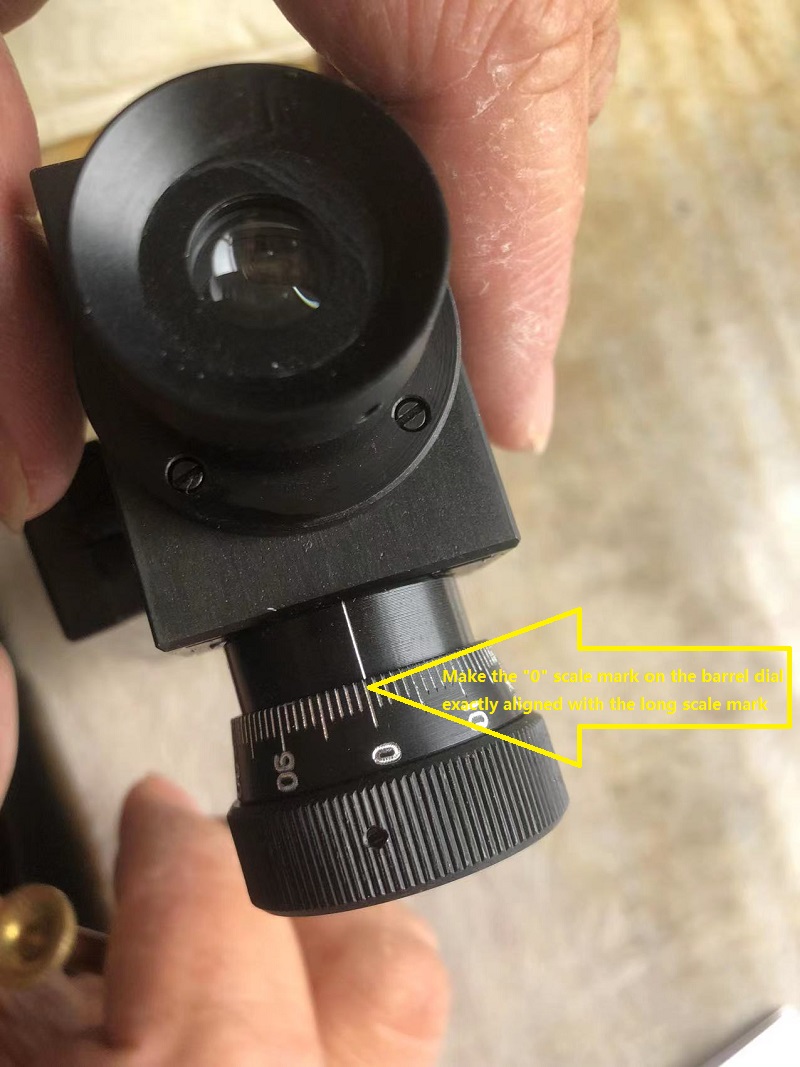
c. Make the “0” scale mark on the barrel dial exactly aligned with the long scale mark.
d. Fasten the three screws.

