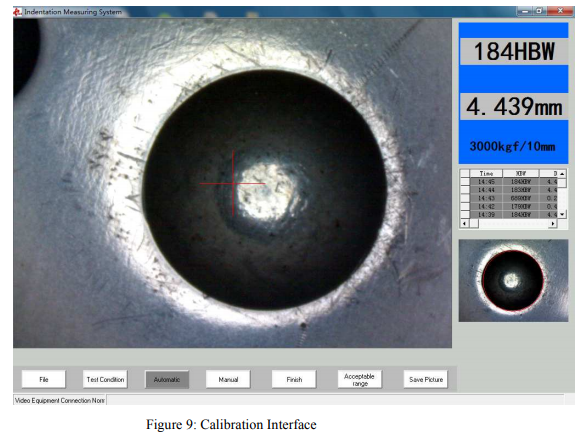
The calibration procedure for MS-2a Brinell Indentation Measurement System is very simple.
Click “calibration” button, the condition for both the diameter of the indentation and
measurement value will change into gray color on the right of software. After calibration,
click “finish” button. (As shown in figure 9)
Changing the diameter of indentation or the hardness value both methods can realize calibrate
function.
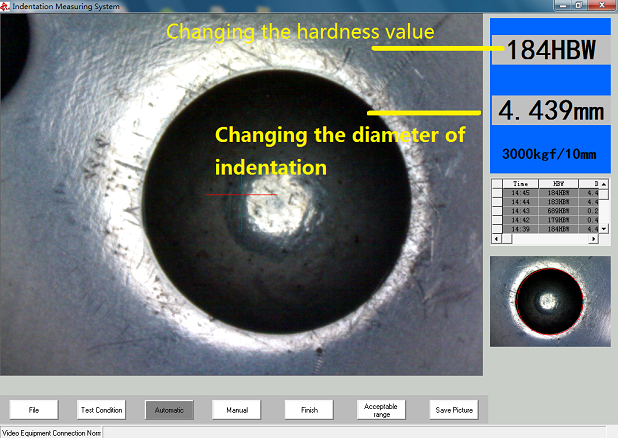
Notice: When calibrate the hardness value or indentation diameter, please use dot marks,
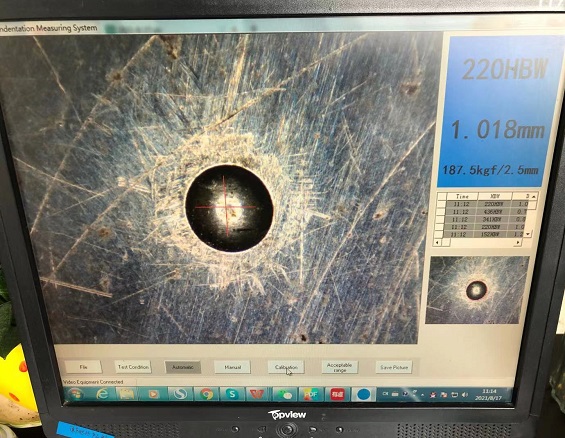
DO NOT use commas. I shall use 2.5mm/187.5kgf test condition as a example below:
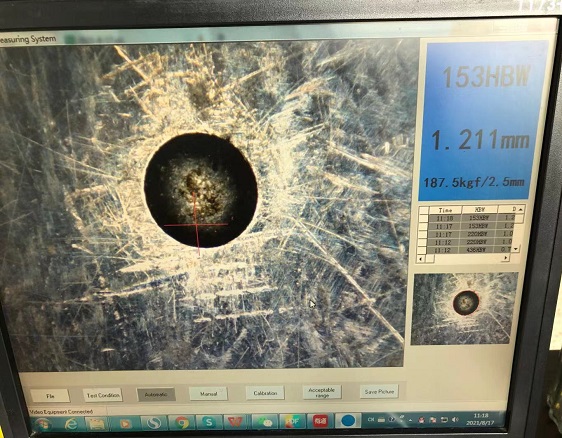
First correct calibration:
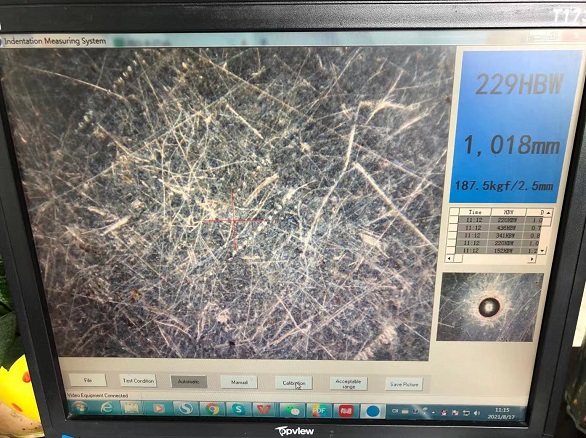
First wrong calibration with commas:
Second correct calibration:
Second wrong calibration with commas:
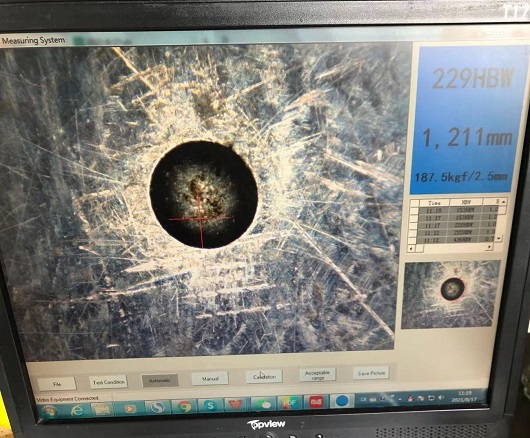
Result: You can see there are big difference if calibrate the value with comma.

