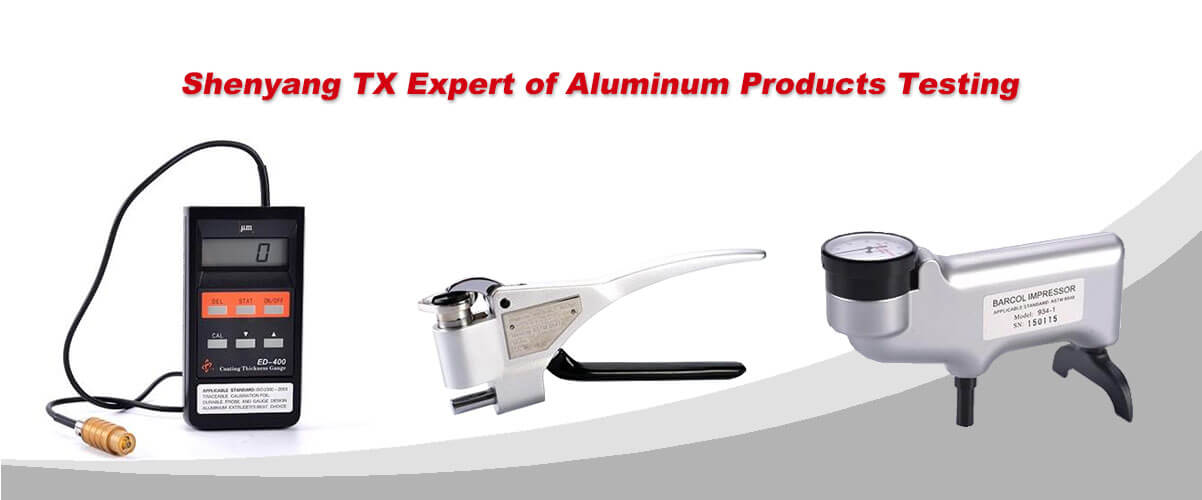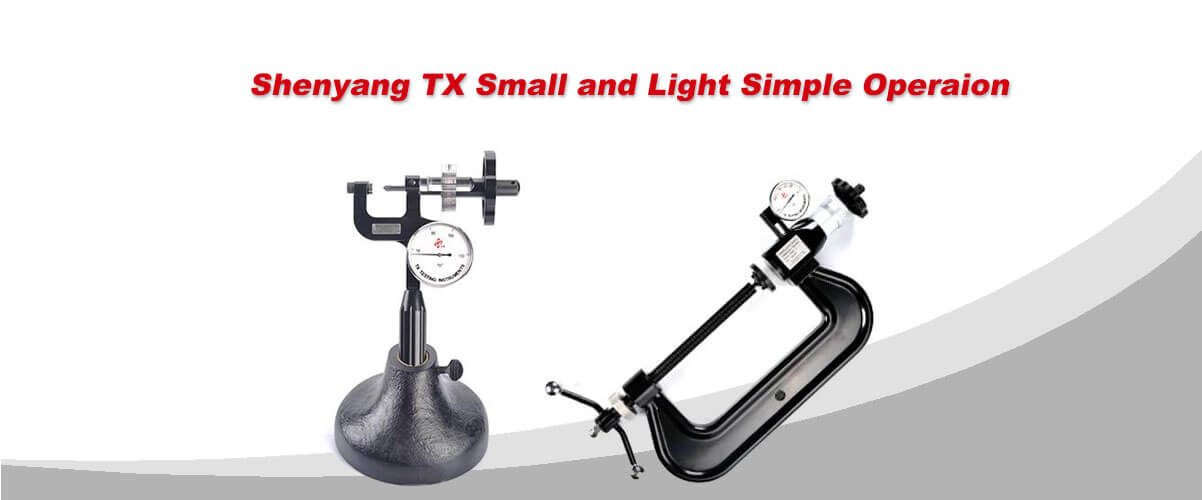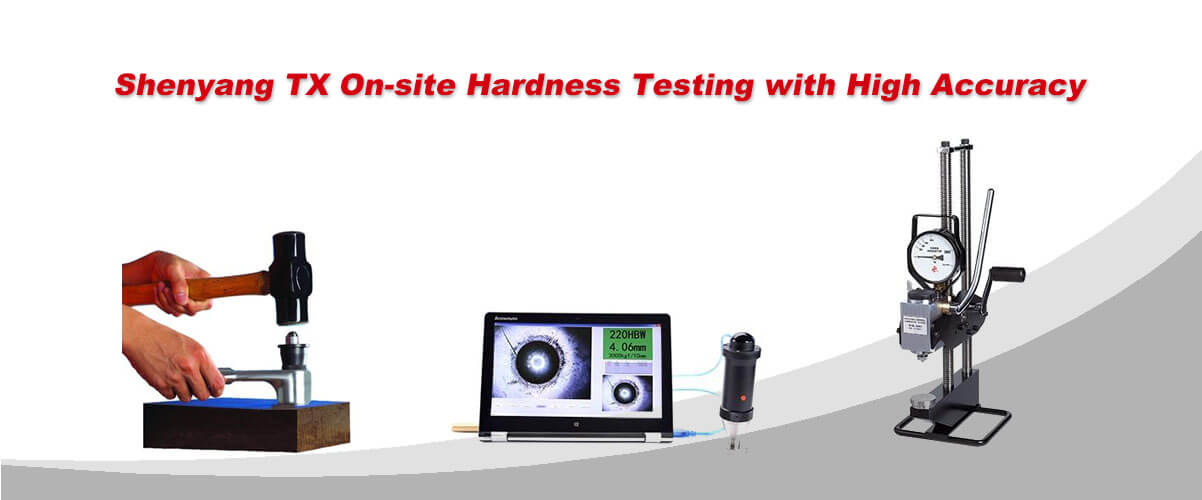
934-1 hardness tester is mainly used to test the thick wall aluminum profiles which Webster hardness tester can not detect. it is characterized by high sensitivity (there are 100 scale values much higher than the Webster hardness tester); Wide range of profile thickness measurement, as long as the material is greater than 0.8mm can be tested; The range of hardness test is wide, from pure aluminum to super hard aluminum alloy can measure the effective range is equivalent to Brinell hardness value of 25~150HBW; It is very convenient to use as long as one side contact the measured workpiece can be completed the test, especially suitable for measuring super large, super wide, super thick materials. 934-1 hardness tester has been widely used in domestic aluminum factory, users in the use of the process also need to pay attention to the following points, so as not to affect the accuracy of the measurement results.
First, the cleanliness of the sample should be maintained
Before measurement, it should be ensured that the measured point on the sample and its surroundings are free from dust and dirt, especially fine sand, which may have a great impact on the measurement results.
Second, the selection of measuring points
When selecting the measuring point, we should first pay attention to the distance from the sample edge should be greater than 5mm, too close to the sample edge will affect the results; and then the distance between the two indentation should also be greater than 6mm, otherwise the influence between the two indentation will lead to the inaccurate result of the second indentation.
Third, the influence of oxide film on the measurement results
Although the oxide layer of aluminum profiles is very thin, but it will also affect its hardness. Experience shows that the thickness of 10μm oxide film will make the hardness measurement value of 0.5~1HW higher, please pay attention to this point in actual use.
Four, the operation should be standardized
1. Before using the 934-1 hardness tester, we do the full scale calibration and calibration point should be corrected (using the standard test disks).
2. The surface of the sample should be perpendicular to the indenter, and the bottom of the sample should be in contact with the anvil.
3. Enough grip force should be applied at one time to produce enough test force. Slow force will cause low measured value.
4. The stability of the sample and the instrument should be maintained during the measurement process to avoid twisting, otherwise the measurement results will not only have errors but also easily damage the indenter.


