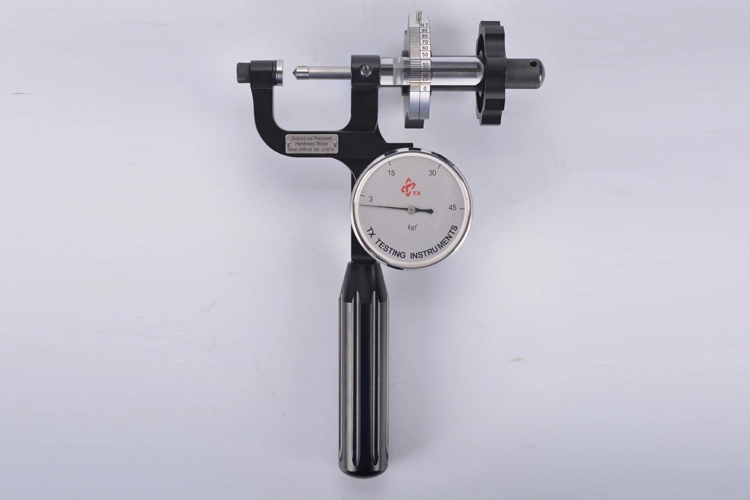
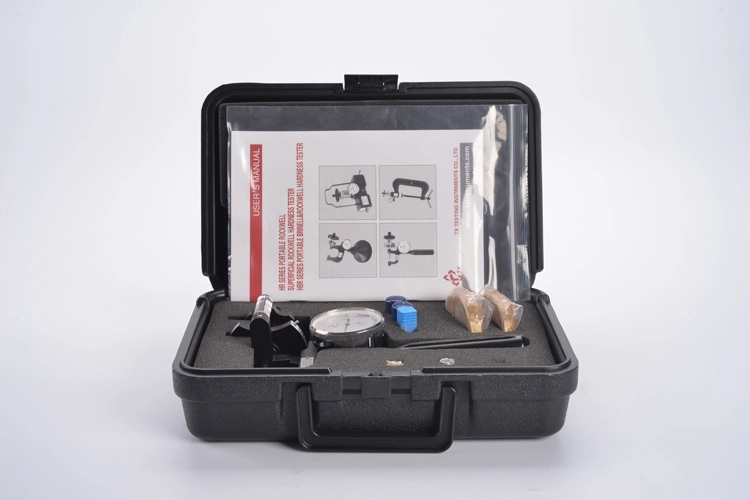
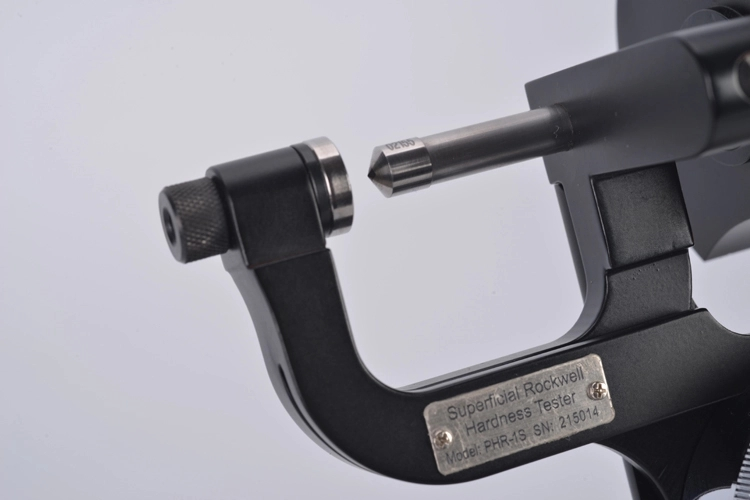
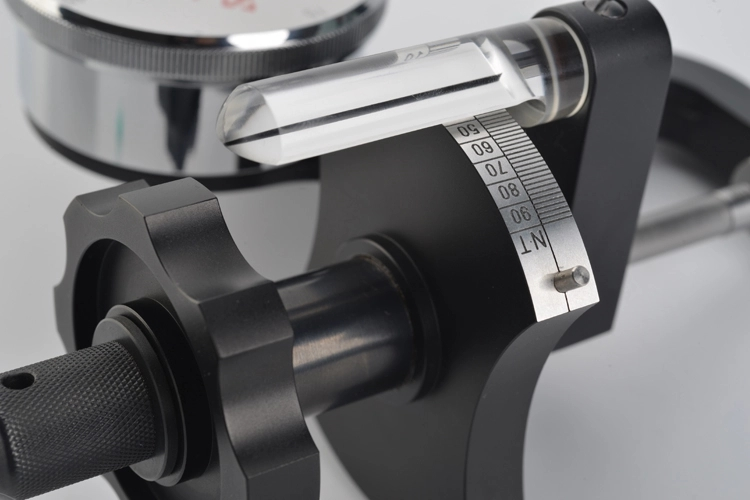
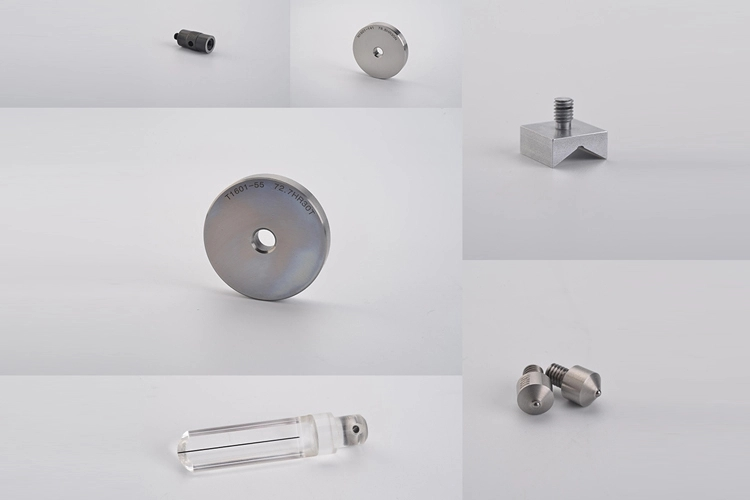


The superficial Rockwell hardness tester is a Rockwell hardness tester with a small test force. Designed according to Rockwell hardness test principle, the test results are real and reliable. Used to test thin and small parts, such as tinplate, thin steel plate, copper strip, aluminum strip, small stamping parts, etc., can also be used to test the hardness of thin carburizing layer.
Non-destructive Testing. The indentation is small, has no effect on the use of most parts, and can be regarded as non-destructive testing.
Small and Light. The minimum weight of the main rockwell hardness tester for sale is only 0.7 kg, the application is flexible, can be inserted in the base for use on the desk, can also be carried to the workshop site for use.
International Standards. The test is accurate, with the same accuracy as the desktop, conforming to ISO6508, ASTM E18 and ASTM E110.
| PHR-1S / PHR-2S/PHR-1ST | |
| Rockwell Initial Test Force | 3 kgf |
| Rockwell Total Test Force | 15 kgf, 30 kgf, 45 kgf (for PHR-1ST is 15kgf only) |
| Rockwell indenter | 120° Diamond Indenter, 1/16" Carbide Ball Indenter |
| Accuracy | comply with ISO 6508, ASTM E18 standards |
| Test Resolution | Rockwell: 0.5 HR |
| Test Range | Rockwell: HRN, HRT, HRW, HRX, HRY, etc. 15 scales |
| Standard Assembly | Optional Accessories |
| Tester | 120° Diamond Indenter |
| Bench Stand | 1/16", 1/8" Carbide Ball Indenter |
| 120° Diamond Indenter | 1/4", 1/2" Steel Ball Indenter |
| 1/16" Carbide Ball Indenter | Rockwell Hardness Block(HR15T, HR30N, HR30T) |
| 3 pcs Rockwell Test Block | Raised spot anvil |
| 1 pc HR15T Test Block only(for PHR-1ST) | Slim raised spot anvil (flat top: Φ1.5mm, Φ2.5mm, Φ3.5mm) |
| Flat Anvil | Diamond raised spot anvil |
| V Anvil | Ball testing anvil |
| Extension bar | Spare magnifier |
| Flat adapter (for PHR-1ST) | |
| Carrying Case |
| Model Selection | |||||
| Model | Specimen / Opening Size W X D (mm) | Net Weight (kg) | Gross Weight (kg) | Package Dimensions (mmxmmxmm) | Remarks |
| PHR-1S | 25X 25 | Tester: 0.8 Bench Stand: 1.5 | Tester: 3.4 Bench Stand: 1.8 | Tester: 380x360x170 Bench Stand: 220x150x240 | The first number in the model specification means the biggest opening width(inch), the second number means the biggest opening depth (inch). |
| PHR-2S | 50 X 50 | Tester: 1.1 Bench Stand: 1.5 | Tester: 3.6 Bench Stand: 1.8 | Tester: 380x360x170 Bench Stand: 220x150x240 | |
| PHR-1ST | Dia>4.8 | Tester: 0.8 Bench Stand: 1.5 | Tester: 3.4 Bench Stand: 1.8 | Tester: 380x360x170 Bench Stand: 220x150x240 |
