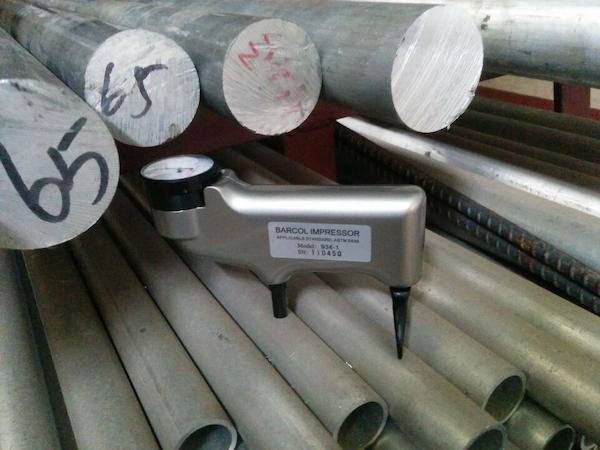
Barcol impressor hardness tester is originally made in the United States. The instrument itself is small, light, one-hand operation, one press, no need experience, can be used in any situation. Its measurement range is very wide, from very soft pure aluminum to very hard aluminum alloy can be tested. The instrument has 100 scales and its sensitivity is much higher than that of Webster hardness tester commonly used in aluminum processing industry. In the use of Barcol Impressor hardness tester, first of all should keep the workpiece surface smooth, clean, no mechanical damage.

Secondly, the thickness of the workpiece should not be less than 1.5mm. The size of the workpiece is required to ensure that the minimum distance between the indenter tip and any edge is not less than 3mm. Similarly, when measuring the current test point, to ensure that there is no old indentation left by the previous test around the indenter within 3mm. In order to test accurately, it is necessary to ensure that the indenter is perpendicular to the workpiece surface, so that the foot of the instrument is on the same level as the indenter tip. And when applying the test force, the impact and the lateral sliding of the indenter should be avoided, otherwise the indenter is easy to damage. Do not attempt to re-use damaged indenter after polishing them. There are two hardness blocks with high value and low value in the standard configuration of the Hardness tester. The hardness block can only be used on the front side (there is the number), not on both sides. The error of Barcol hardness tester is slightly larger than Brinell hardness tester and Rockwell hardness tester. In order to reduce the error, multiple tests should be adopted to take the average value. The softer the workpiece is, the more times the test should be.
