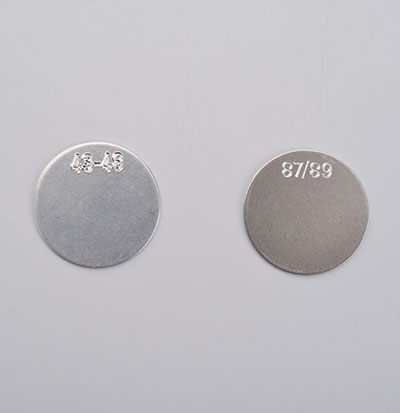
The hardness tester needs to be calibrated before use. The test block used to calibrate the hardness value during calibration is called the hardness block. According to different types of hardness tester, hardness blocks are also divided into Brinell, Rockwell, Vickers, Barcol, Webster and so on. The hardness block is an accurate measurement and calibration benchmark. There are some matters needing attention when using it:

In order to ensure the accuracy of the hardness tester, all hardness blocks have a period of validity. Please use the hardness block within the period of validity (generally, the limited period is two years. For the actual situation, please see the test certificate or certificate of hardness block, etc.).
Most hardness blocks are divided into front and back sides. The surface marked with scale is the measuring surface and the other side is the bearing surface. Please use the measuring surface of the hardness block to calibrate the instrument.
If the bearing surface is rusty, it can be used normally after sanding. If the measuring surface is rusty in a small area, it should avoid the rusty part. Even after sanding, it can not be measured at the rusty position, because the original surface does not exist after grinding, and the hardness value will deviate; If the rusted area is large, the hardness block can no longer be used, and a new hardness block needs to be replaced to calibrate the instrument.
The hardness block is made of metal materials. It is easy to rust when exposed to the air for a long time, especially in humid air. It needs to be coated with anti rust grease and wrapped with anti rust paper after use.
