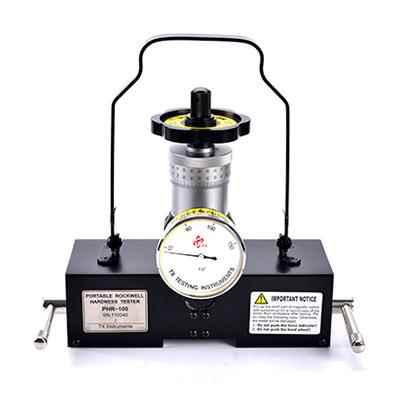
In addition to the various precautions used when using a variety of hardness, there are some common issues that should be noted as follows:
1. Rockwell hardness tester itself will produce two kinds of errors: First, the error caused by deformation and moving of its parts; Second, the error is caused because the hardness parameters excess the standard. For the second error, you can use a standard block to calibrate the durometer before measuring. The difference of Rockwell hardness calibration results within ± 1 is qualified. You can give a correction value if the difference between ± 2 within the stable value. When the difference is outside the range of ± 2, the hardness tester must be calibrated or tested for other hardness test.

As the scale of Rockwell hardness has a applicable scope, you should select correctly according to according to the provisions. For example, when the hardness is higher than HRB100, HRC scale should be used for testing; hardness below HRC20 can use HRB scale for testing. If it beyond its specified test range, the sensitivity of hardness tester is poor and hardness value is not accurate, it should not be used. Other hardness test methods are also provided with the corresponding calibration standards. The standard block for Calibration of the hardness tester can not be used on both sides, because the standard surface and the back surface hardness is not necessarily the same. It is generally prescribed that the standard block is valid for one year from the date of calibration.
2. In the replacement of the indenter or anvil, you should pay attention to contact parts to keep cleaning. After changing, use a sample with certain hardness to test several times until the hardness value it the same for two times. The purpose is to make the indenter or anvil contact with test machine tightly. Therefore, the accuracy of the test results is guaranteed.
3. The first test point is not used after adjusting the hardness. Because the measured value may not be accurate due to the poor contact with the anvil. When the first test finished, the hardness tester is in normal operating mechanism, then the formal test of the sample can be started and remember to record the measured hardness value.
4. In the case of allowing the specimen, we generally select different parts of the test for at least three hardness values and take the average value as the hardness of the specimen.
5. The sample with complex shape should use the corresponding shape of pad to fix before the test. The test piece is generally placed on a V-shaped anvil.
6. Check whether the loading handle is on the unloading bit before loading and keep load action light stable without fast force. After loading, the load handle should be placed on the unloading position, so that the instrument is not in a state of long-term load and occurs plastic deformation, affecting the measurement accuracy.
