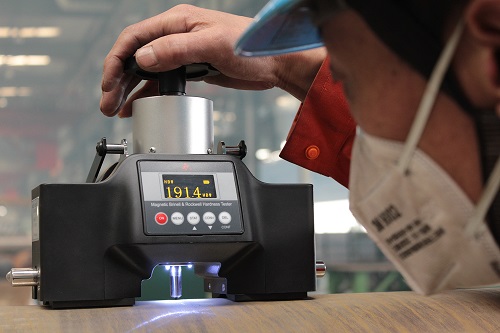
Before calibrating the magnetic hardness tester, the causes of instrument misalignment should be eliminated, including rough workpiece surface, unskilled test operation, insufficient load holding time of test force, deviation of stability and hardness value caused by overdue hardness block, high and low detected ambient temperature or dust content, etc.
1. Press the "menu" key, move the cursor to the "CAL" position, and then press the menu key again.
2. Select the scale corresponding to the hardness block.
3. Put the hardness block into the groove of the base iron, measure the standard hardness block for 3 times, and get the average value of 3 effective tests.
4. When the "average value" is displayed on the screen, use the up and down buttons to adjust the displayed value to the value indicated by the hardness block. Press the "OK" key continuously to return to the test state. The calibration of Rockwell detection method is completed.
The Brinell test method cannot directly correct the instrument. If the test results are out of tolerance, the instrument misalignment factors mentioned at the beginning of the article should be eliminated first. If no problem is found after elimination, it depends on whether the indenter is damaged and whether the reading microscope or automatic indentation measurement system used with it is inaccurate. If there are no problems, it may be due to the misalignment of the force measuring system of the instrument, The user cannot handle this problem by himself. At this time, contact our after-sales personnel for handling.
