As illustrated in Fig. 1, the indenter is pressed (diamond cone or carbide ball ) into the specimen surface in two steps. After maintaining the pressure for a predetermined period of time, unload the major test force F1, and measure the remaining indentation depth h under initial test force F0.
Rockwell hardness value is:

In this equation:
N — a constant related to scales; for A, C, D, N and T scales, N=100; for B, E, F, G, H and V scales, N=130.
S — unit indentation depth, for Rockwell hardness it is 0.002mm, for superficial Rockwell hardness it is 0.001mm.
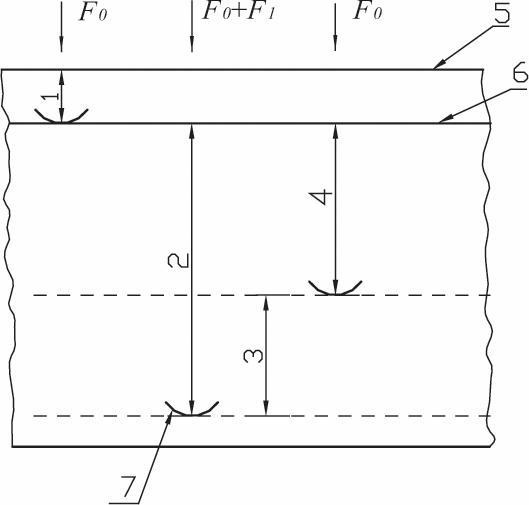
Fig. 1 Principle of Rockwell Hardness Test
1 — indentation depth under initial test force F0;
2 — indentation depth under total test forces F0+F1;
3 — elastic recovery depth when major test force F1 is removed;
4 — remaining indentation depth h;
5 — test piece surface;
6 — datum plane;
7 — position of indenter
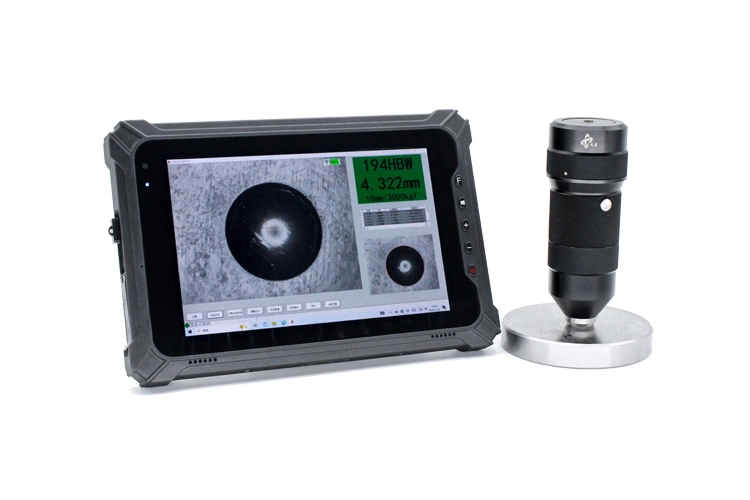
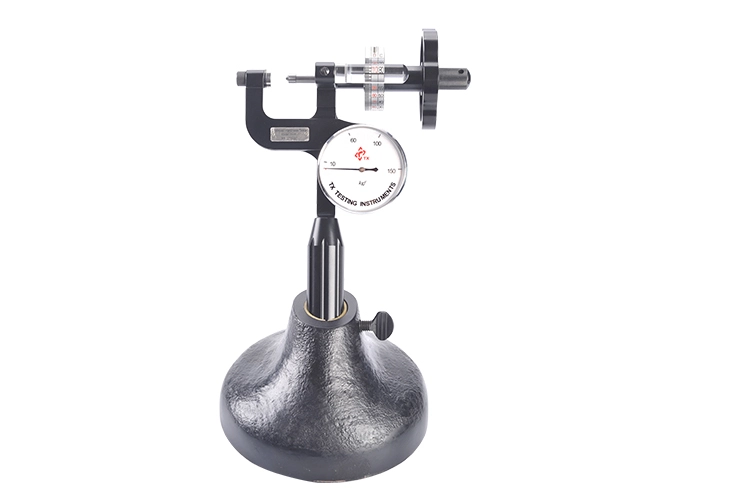
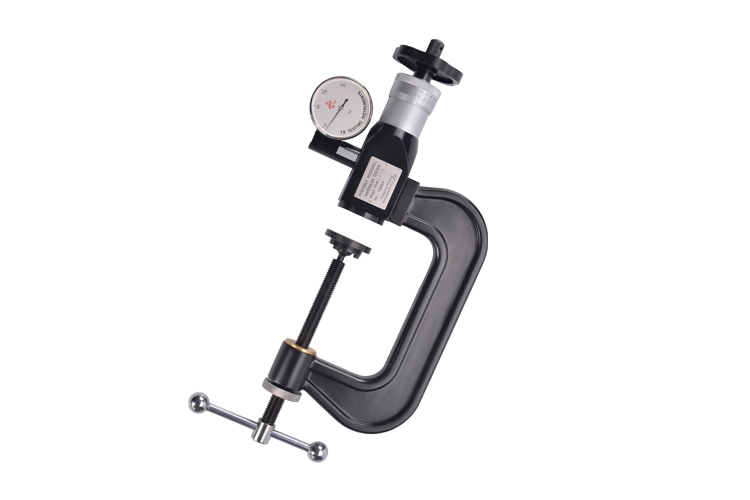
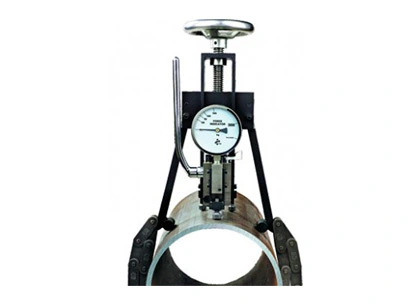
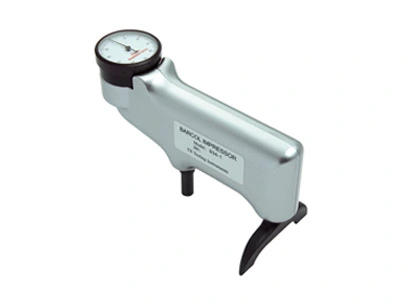
Rockwell hardness testers are designed according to the basic principle of Rockwell hardness test. The main differences from the bench-type lie in: the test force is applied by a screw and a calibrated U-shape spring; two indicators are installed on the tester: one indicating dial indicates the test force value by measuring the deformation of the spring and one precision screw micrometer used for testing the indentation depth; one barrel dial installed on the micrometer shows the hardness values. The principle and structure of this instrument is in accordance with the American Standard ASTM E110.

